
It’s been nearly five years since I sold the last Solidlights product, but there’s still a steady stream of requests for spare parts, servicing and upgrades from loyal customers. Over the production run of Solidlights I made various improvements, especially to the water sealing. This turned out to be particularly important on the 1203D dynamo-powered light: who’d have guessed that commuters and tourers would give their lights a much tougher time than mountain bikers? Well, they did.
Nowadays I routinely fit the upgraded water seals to every light that comes in to the workshop. Because Solidlights customers include many enthusiastic DIYers, I thought it was about time I published details of how the upgrade is done, so here they are.
Parts for the upgrade will be available in the Solidlights on-line shop.
Seal Upgrade Instructions
These instructions describe how to upgrade the seals on a Solidlights 1203D, 1203DR or XB2 to the latest production specification, or replace damaged ones.
Parts
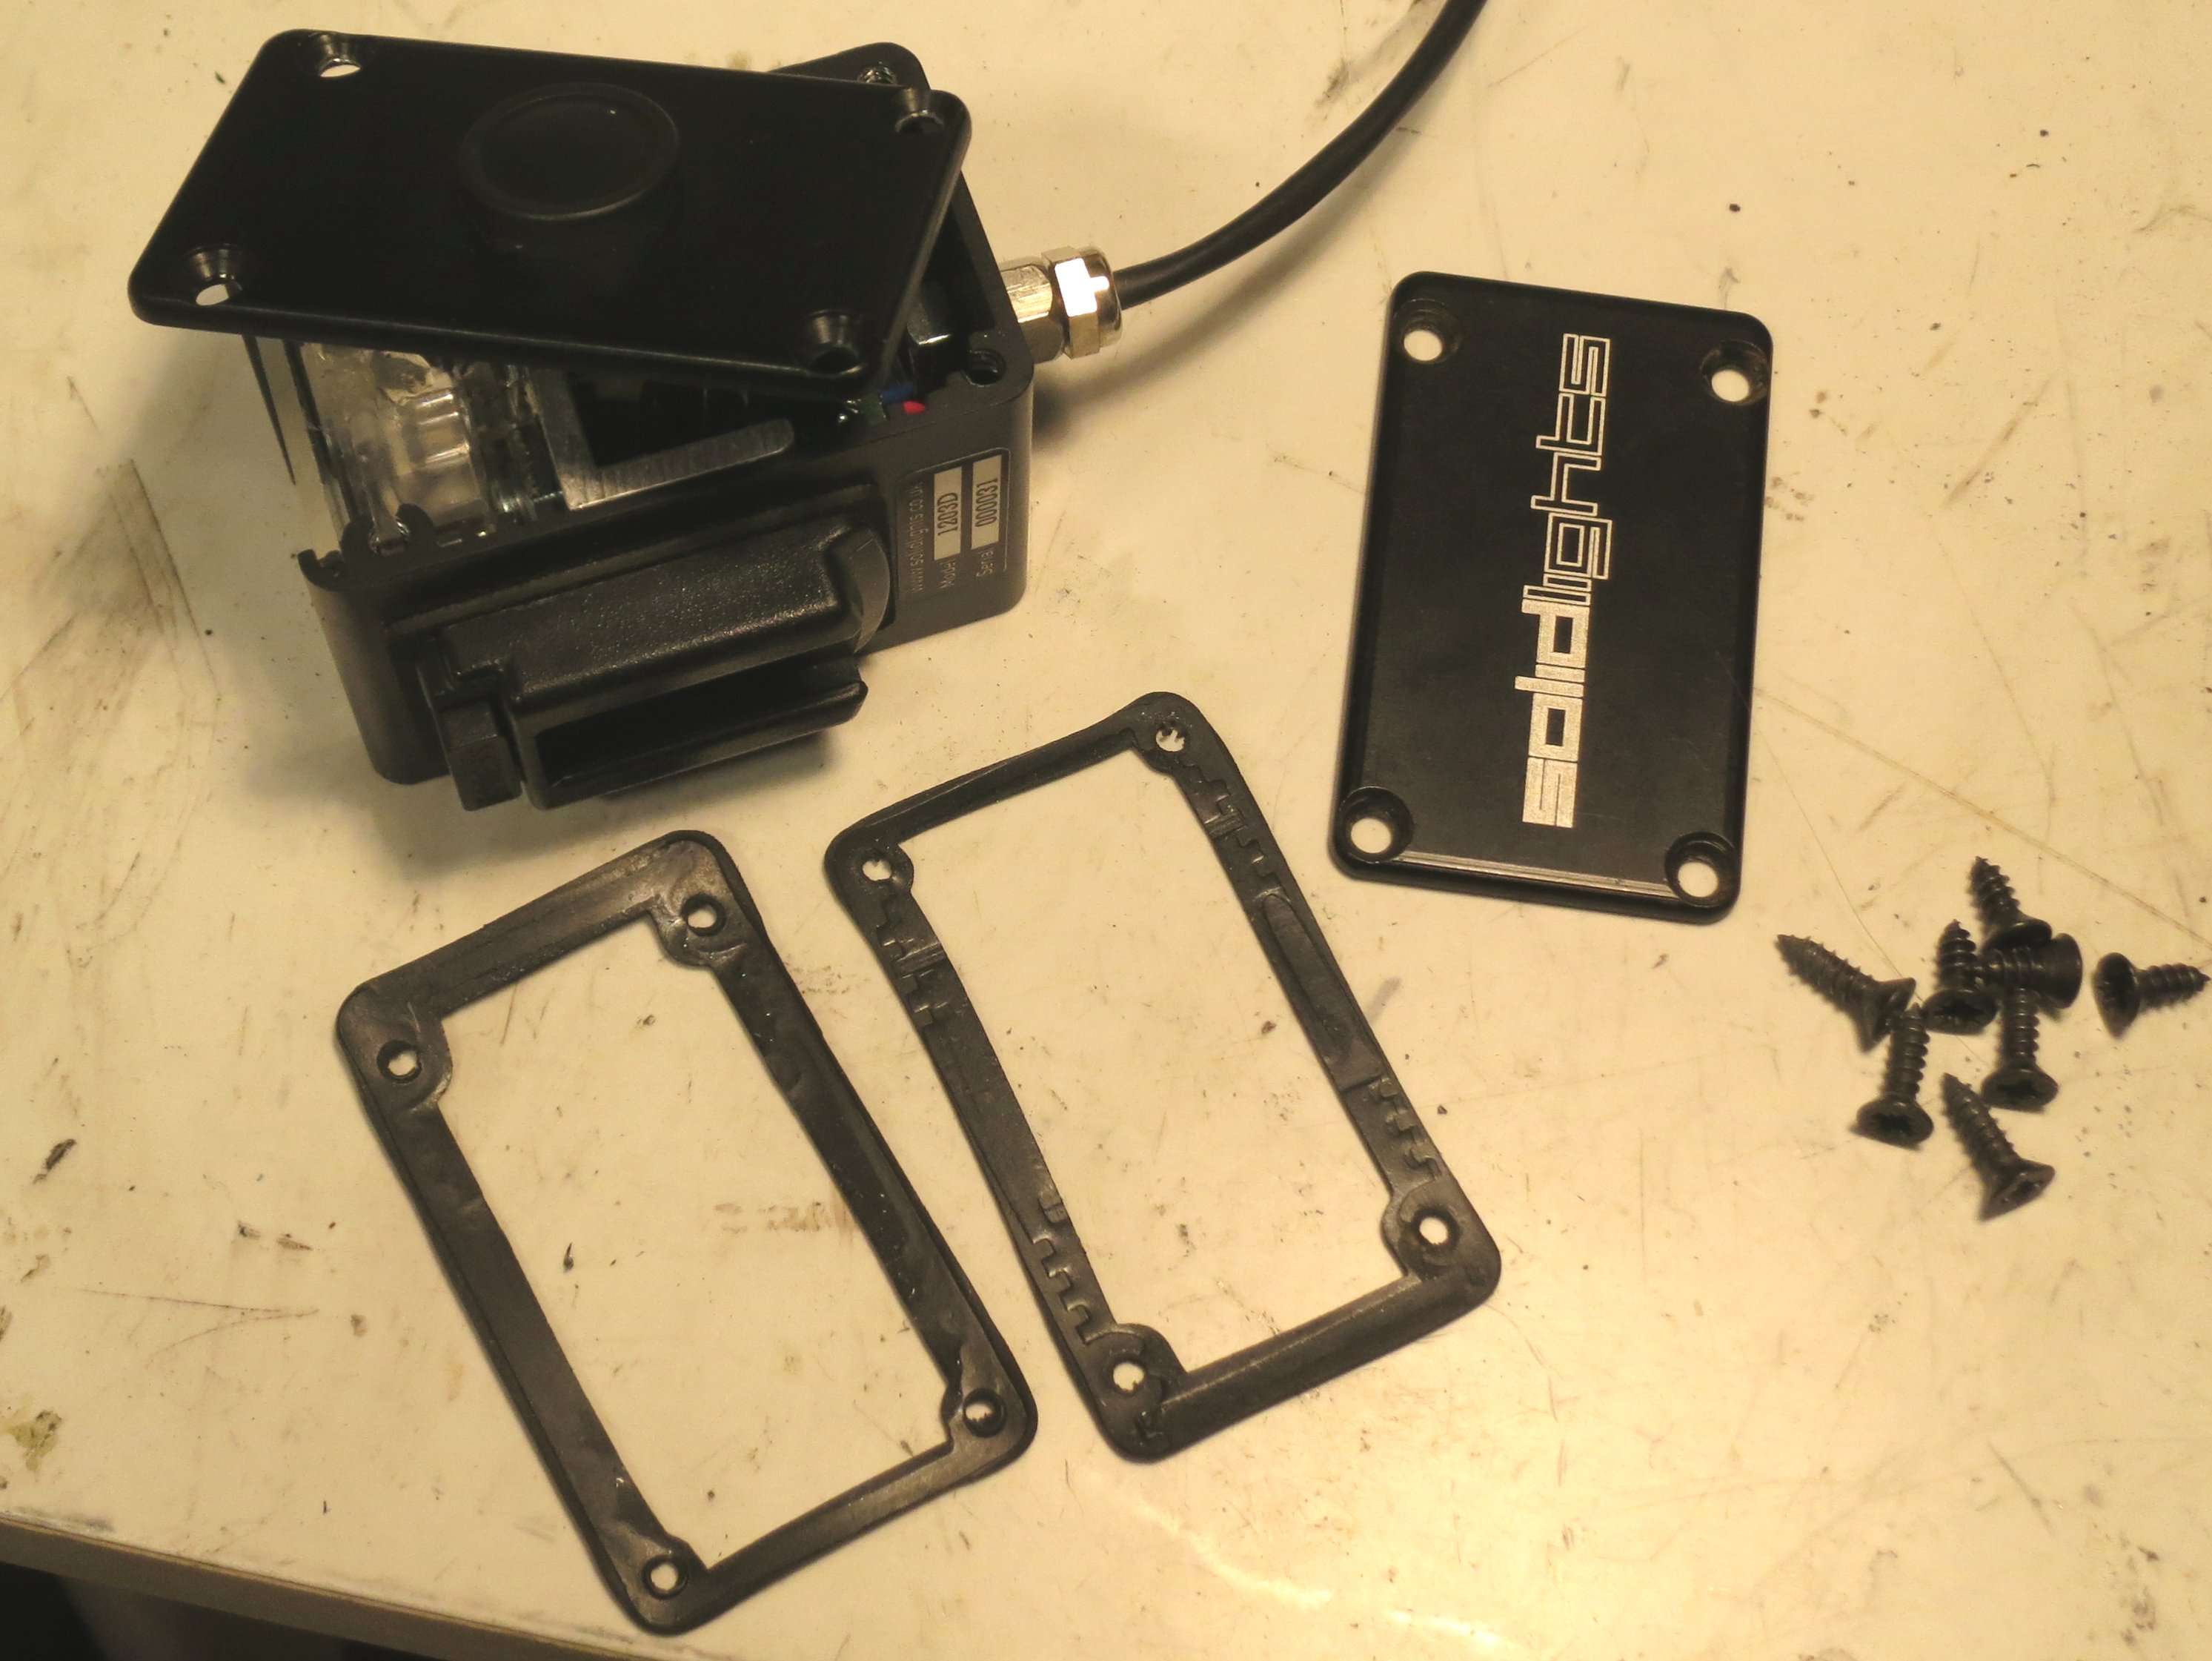
The following parts are required:
- 1m silicone rubber sealing strip 0.5mm, part number 30092
- 8 off O-ring 1.8” Viton, part number 30072
- 8 off screw black stainless self-tapping #6, part number 30071
Tools Required
- Cross-headed screwdriver (Posidriv No.2 or equivalent)
- Marker pen
- Fine rectangular engineer’s file
- Vice
- Jeweller’s screwdriver, tweezers or similar for scraping old seals away
- Flush wire cutters or sharp craft knife
Dismantling
Remove both side panels from the light by unscrewing all eight of the screws.

Discard the old screws and o-rings, if fitted, but keep the two rectangular gaskets. One side panel will remain attached to the light by the wiring to the button. Take great care not to damage the wiring by pulling or bending it excessively.
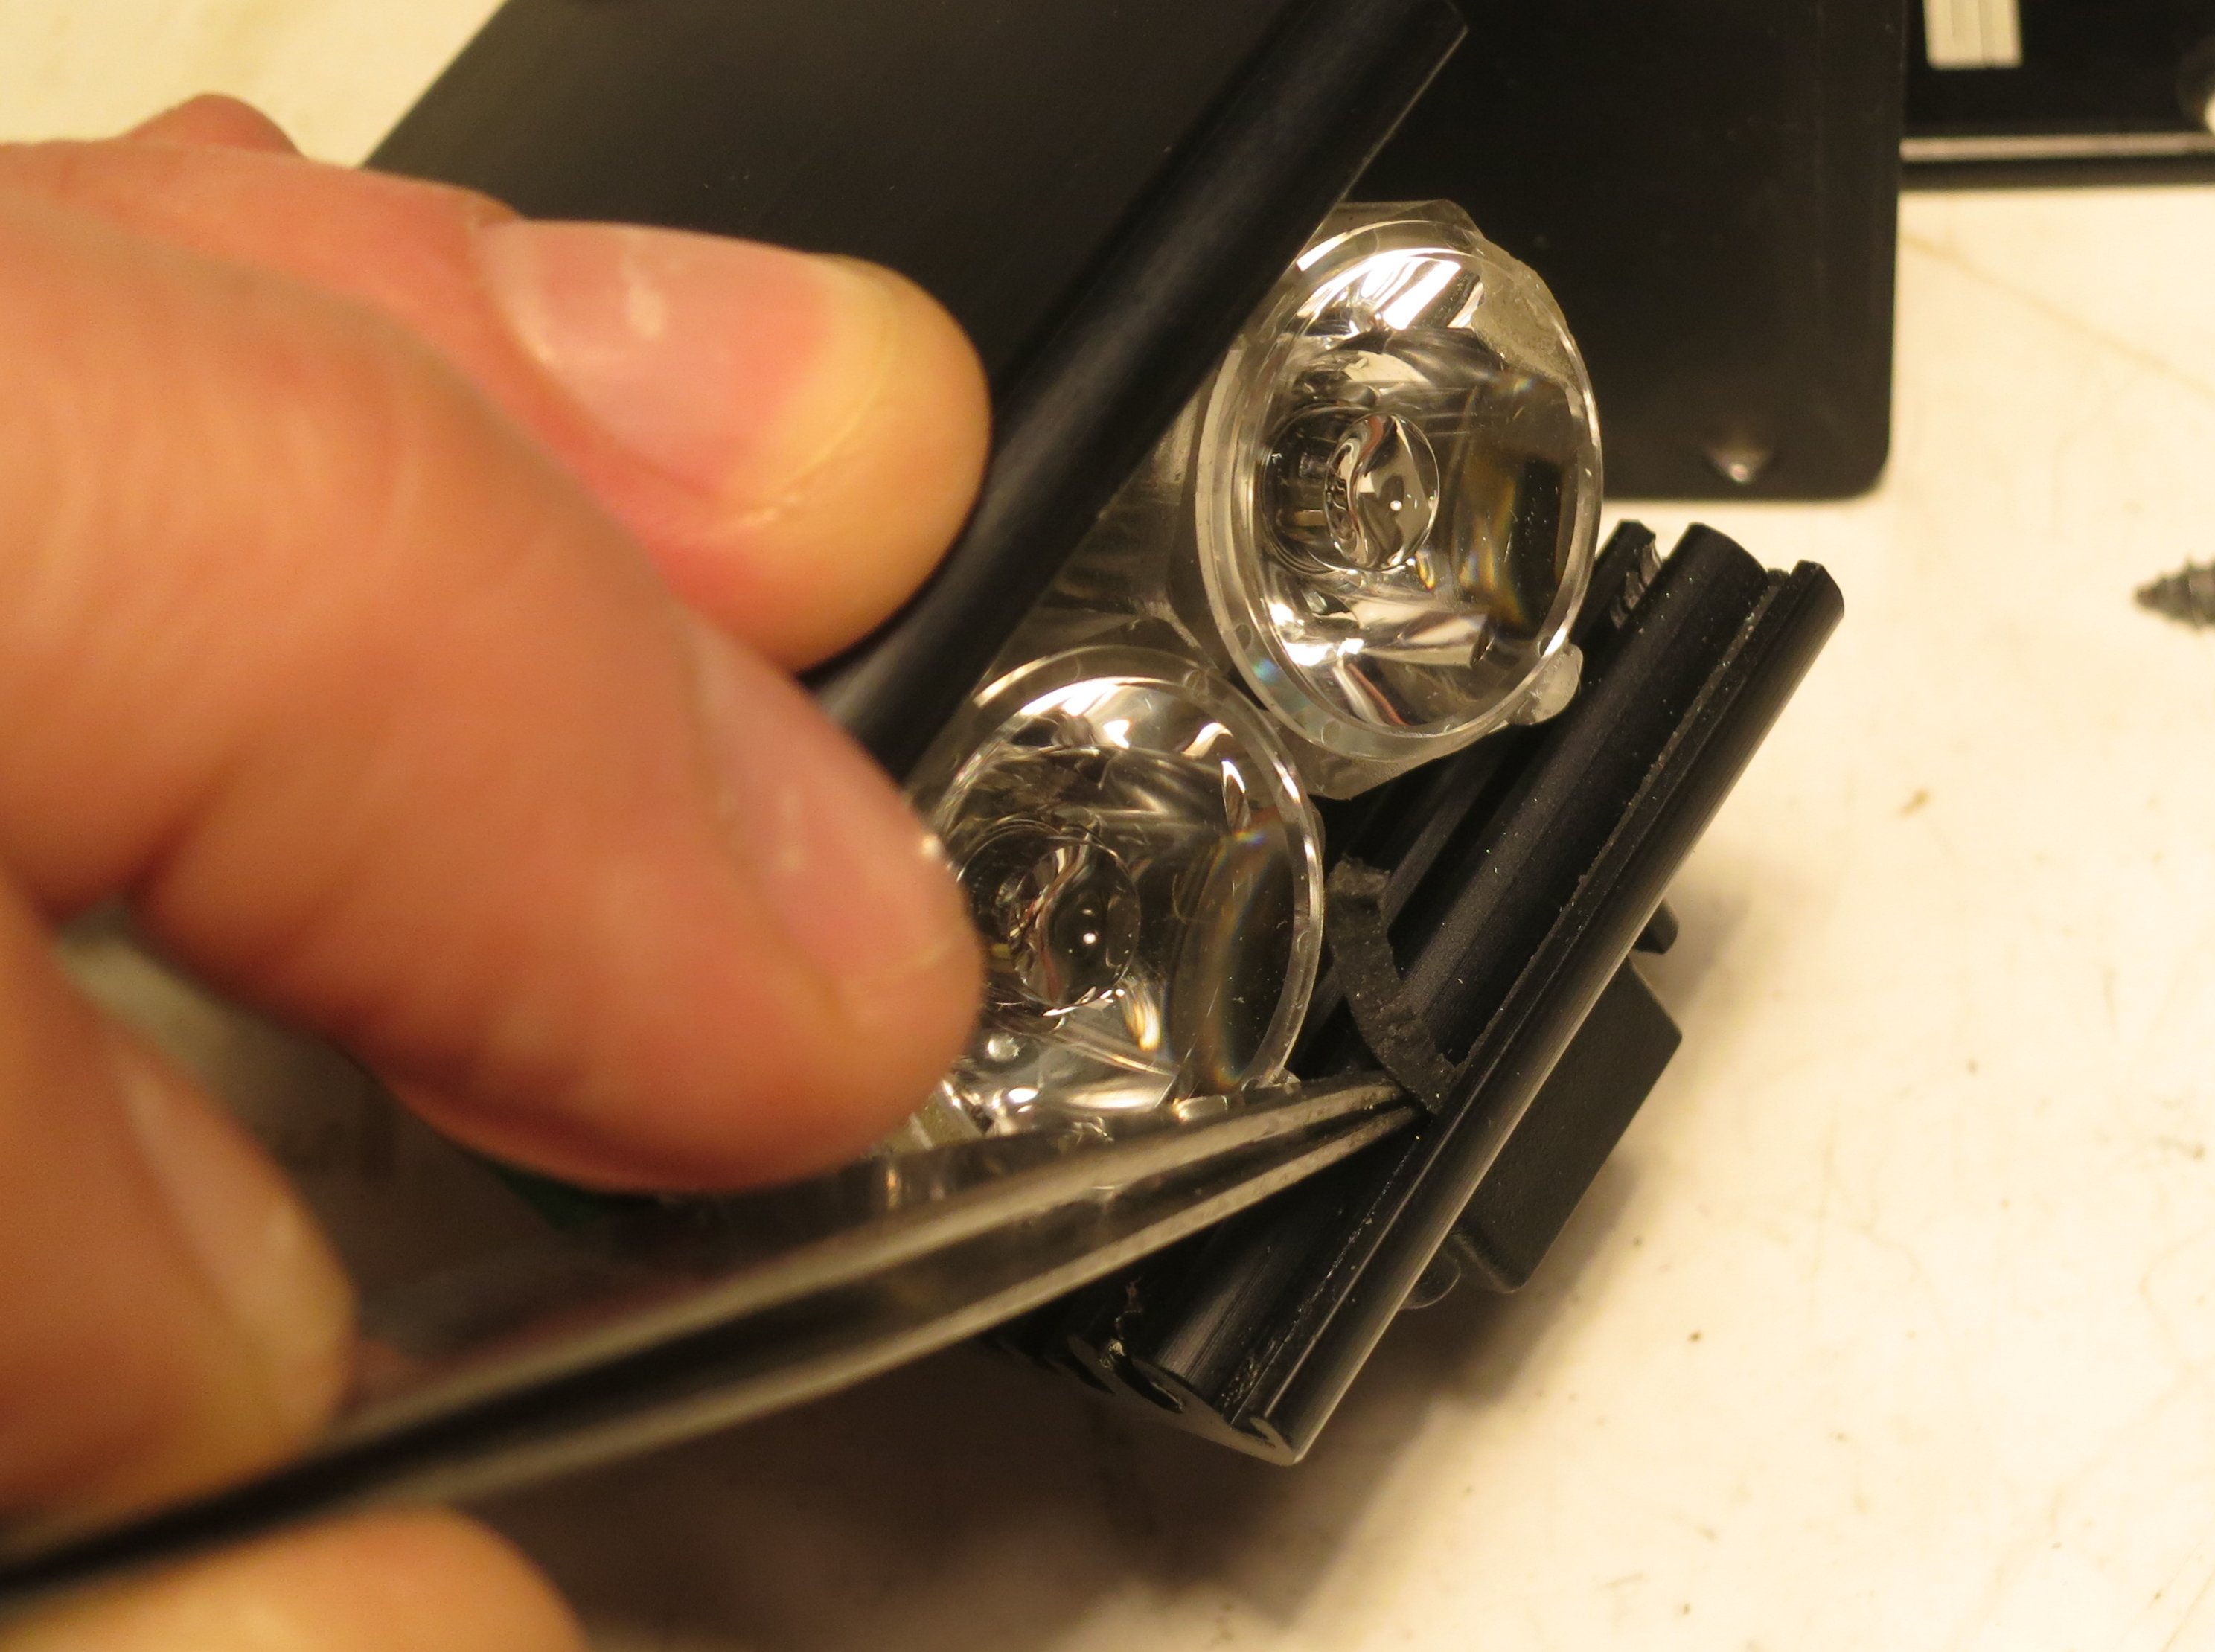
Gently pull apart the front of the light by hand and slide out the front window.

Check what type of seals are fitted at the top and bottom of the front window.
If they are the pale yellow-coloured silicone rubber type, no modifications are necessary. Simply remove and discard the old seals ready to fit new ones later.

If the seals are the black neoprene foam type, they may have been crushed so much that they are almost invisible. The seals are self-adhesive and may be firmly stuck to the inside of the grooves in the light.

Carefully scrape away all traces of the old seals using a tiny screwdriver or tweezers. Gentle heat may help.
Modifying the front window
If the light had the black neoprene foam seals, it will be necessary to modify the front window. The new seals take up more room, so the window needs to be about 1mm smaller.
THIS IS NOT NECESSARY IF THE SEALS AREADY FITTED WERE THE YELLOW SILICONE RUBBER TYPE.
Use the marker pen to mark a line about 1mm thick along one long edge of the front window.

Clamp the window firmly in a vice, using some paper or similar to stop it getting scratched, and file away the marked area. Make sure the edge you leave is straight and smooth, because it has to form a good seal. Use fine emery paper or wet-and-dry paper if necessary.

Reassembly
Lay the rubber seal in to the bottom front window groove. Leave a few millimetres sticking out of one end, and cut off the other end also leaving a few millimetres sticking out.

Place the front window into the groove on top of the seal, making sure it’s lined up correctly with the sides of the case.
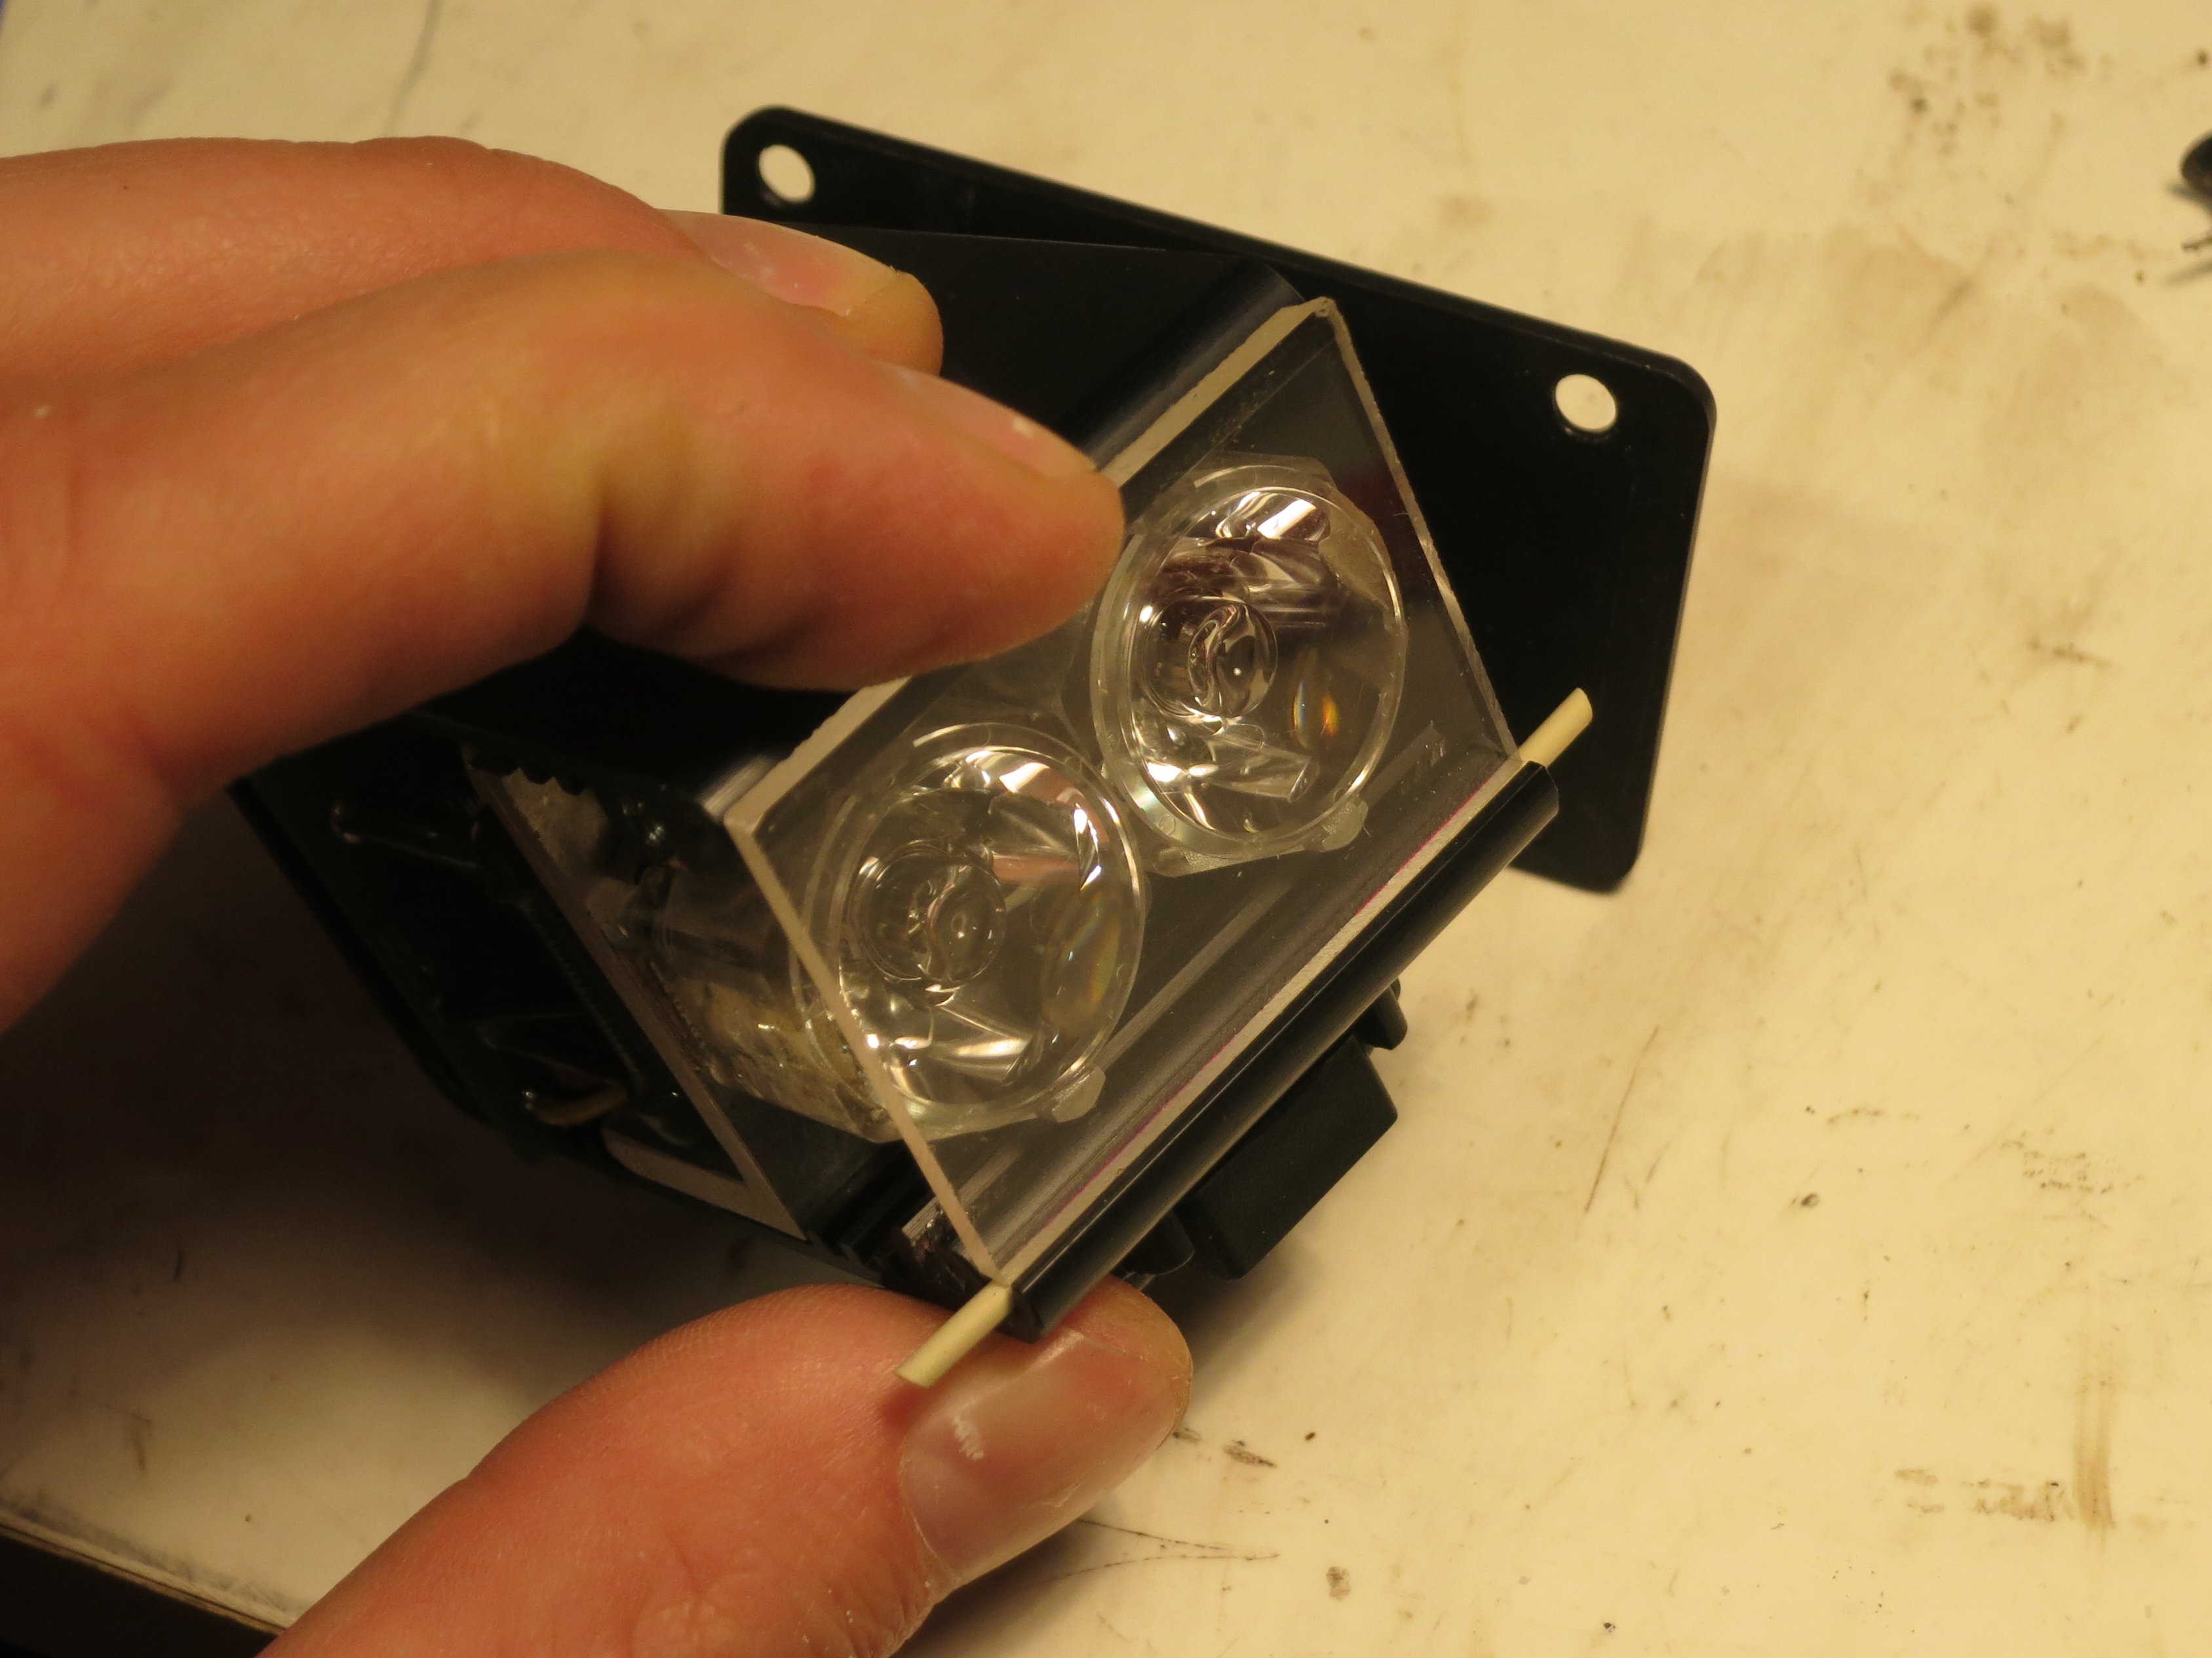
Now, holding the window in place with one hand, turn the whole case over and slide the other seal into the opposite groove.
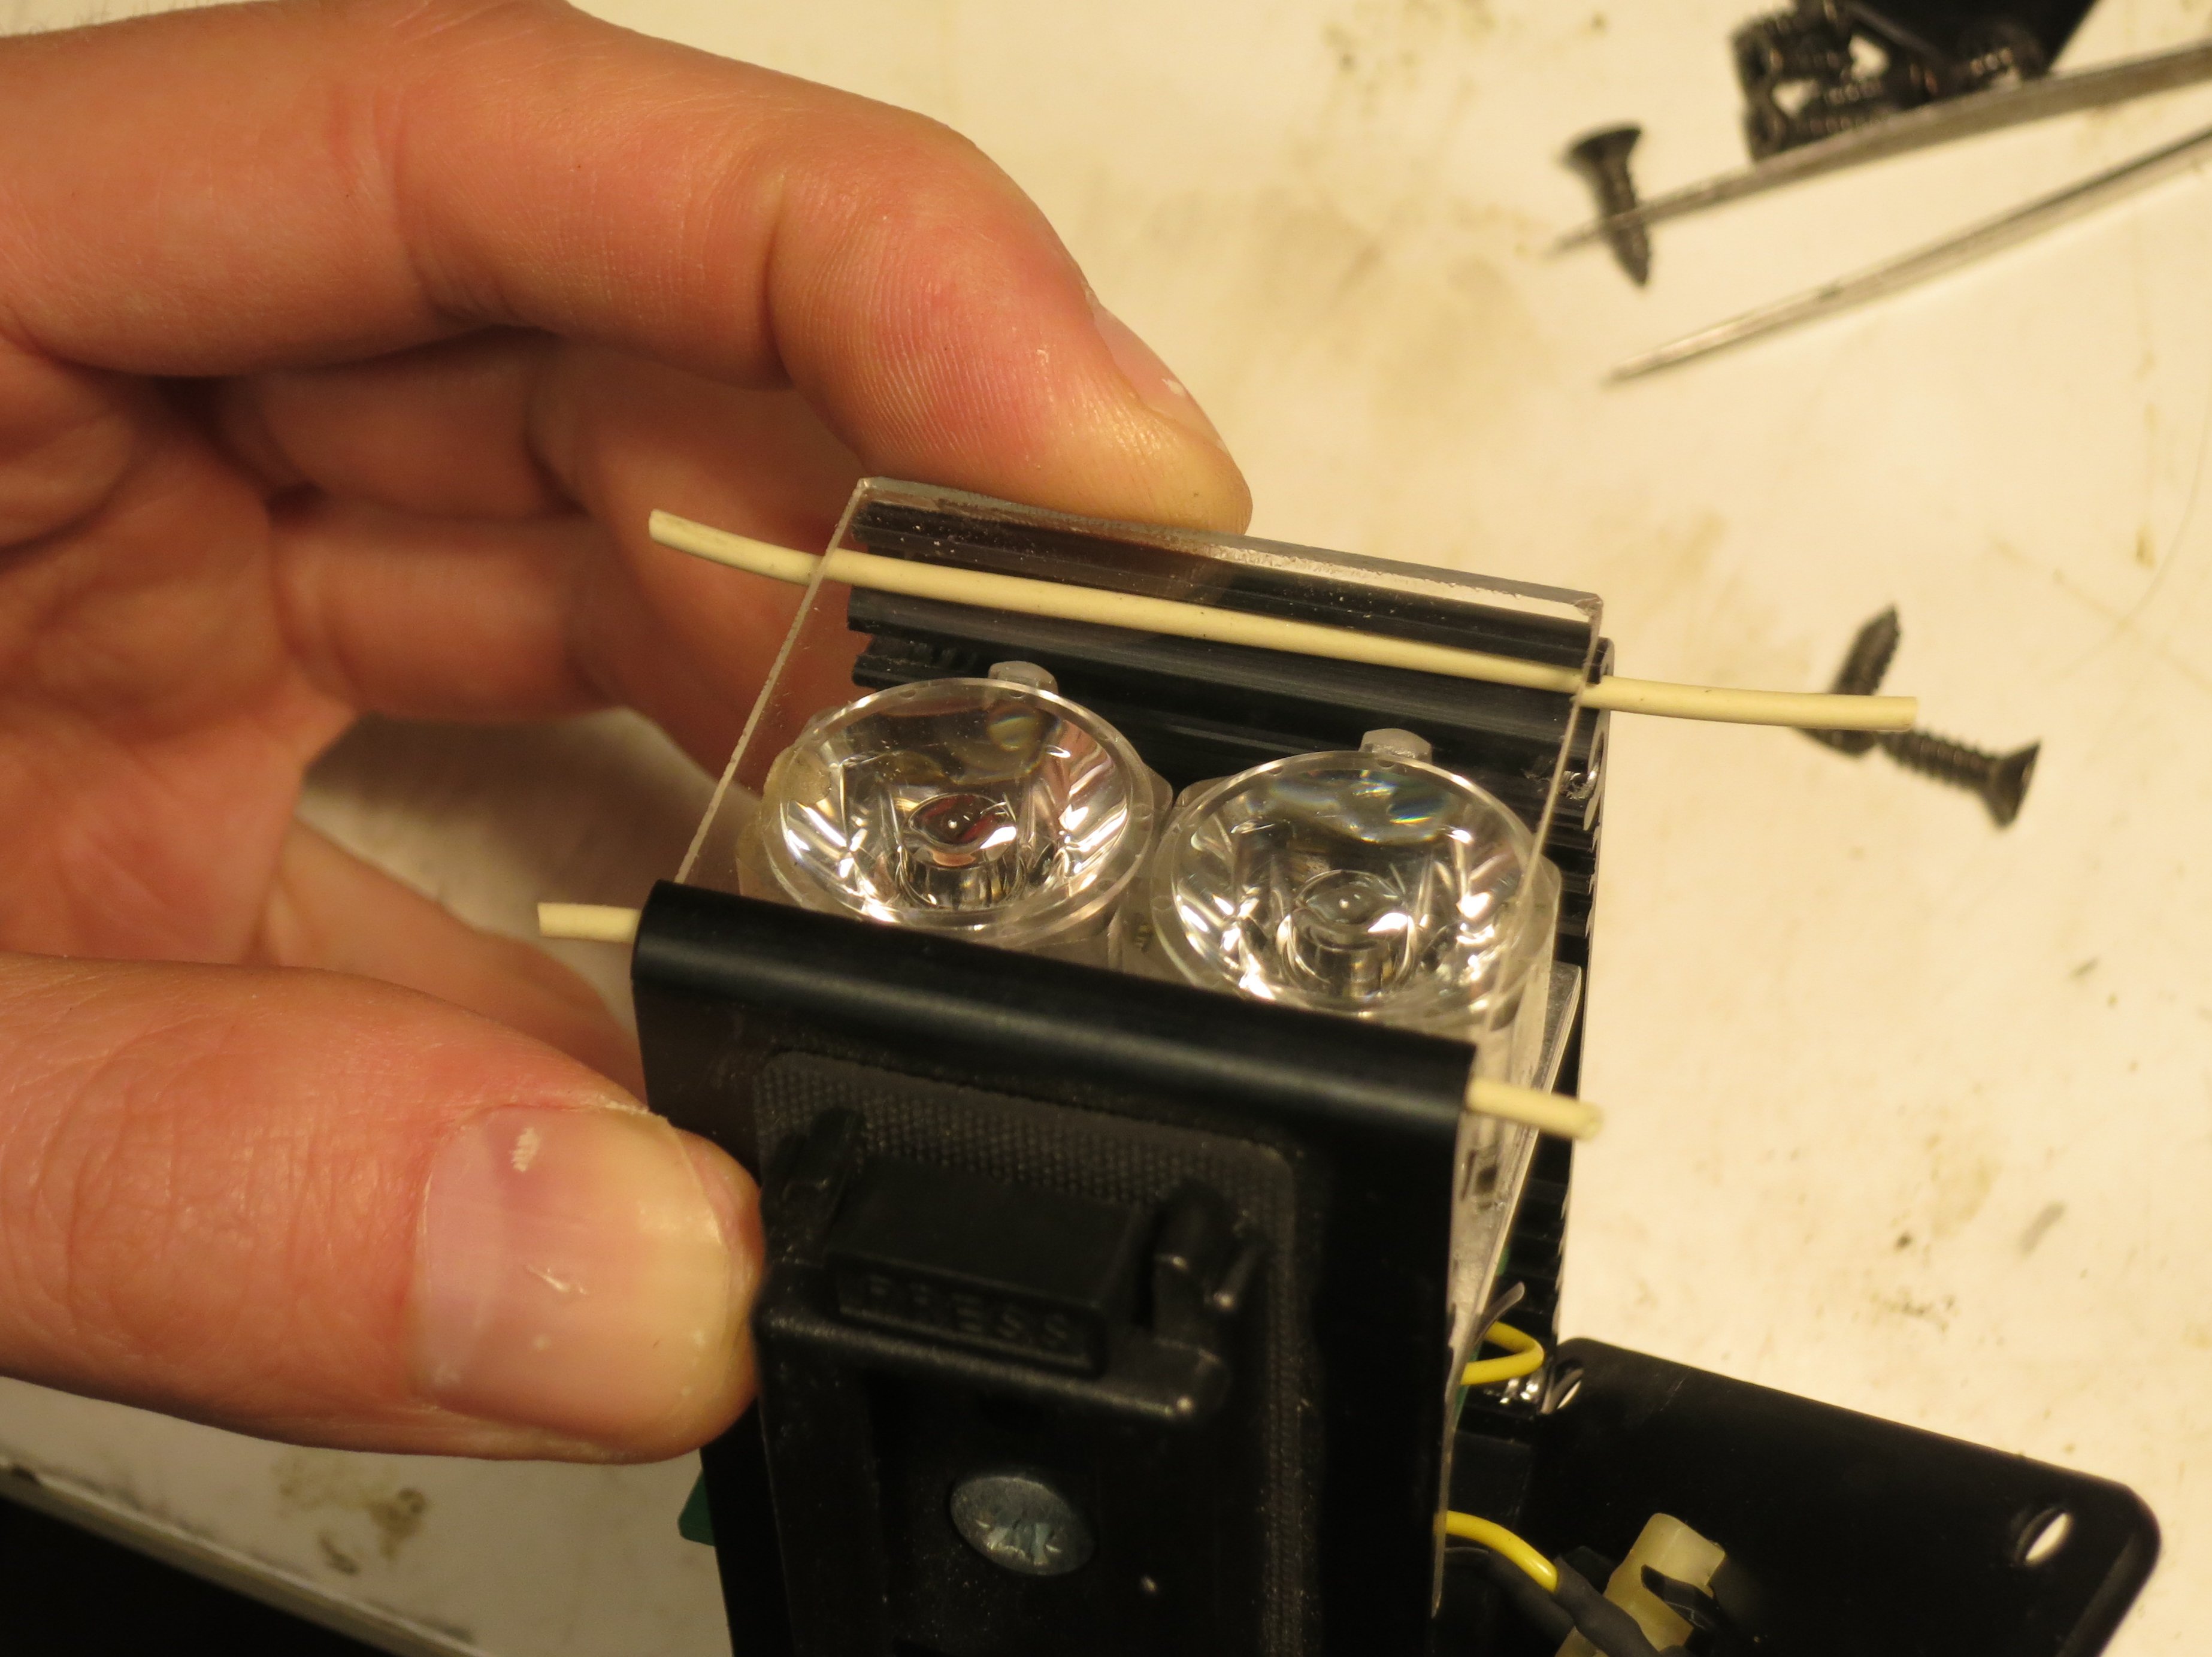
Gently pull the casing apart to allow the window to get into the groove on top of the seal. The springiness of the case will hold everything in place.
Use sharp flush cutters or a craft knife to cut off the ends of the seals, leaving about half a millimetre sticking out.

Put one o-ring on to each screw.

Place the first side panel in place with its gasket correctly positioned.
DO NOT USE ANY SEALANT OR LUBRICANT ON THE GASKET OR O-RINGS.
Carefully insert each screw. You may have to squeeze the case together, either by hand or in a vice, to get the screw holes to line up with those in the side panel. As you turn the screws, make sure the gasket doesn’t get twisted out of place. Squeezing the side panel against the case will help to hold the gasket in position.

Do not overtighten the screws: tighten them only until the side panel is held snugly in position. Overtightening will push the o-rings out of place.

